Host on Netlify
Prerequisites
- Create a Netlify account
- Install Git
- Create a Hugo site and test it locally with
hugo server - Commit the changes to your local repository
- Push the local repository to your GitHub, GitLab, or Bitbucket account
Procedure
This procedure will enable continuous deployment from a GitHub repository. The procedure is essentially the same if you are using GitLab or Bitbucket.
Step 1 : Log in to your Netlify account, navigate to the Sites page, press the Add new site button, and choose "Import an existing project" from the dropdown menu.
Step 2 : Select your deployment method.

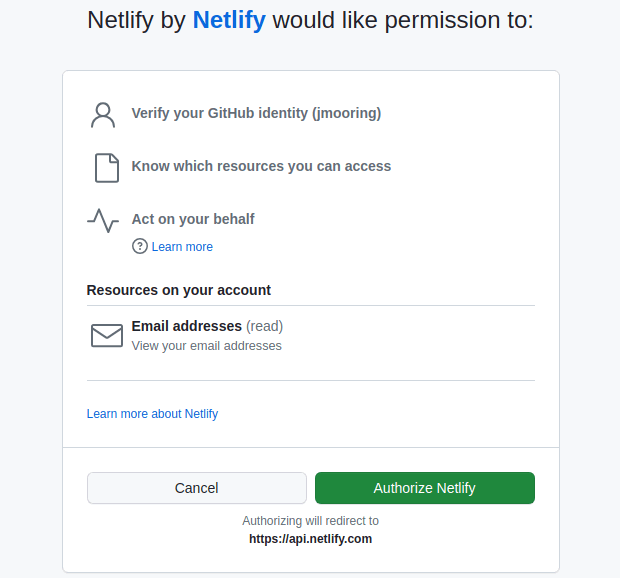
Step 3 : Authorize Netlify to connect with your GitHub account by pressing the Authorize Netlify button.
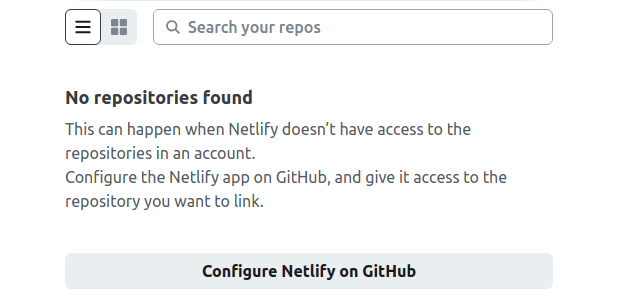
Step 4 : Press the Configure Netlify on GitHub button.
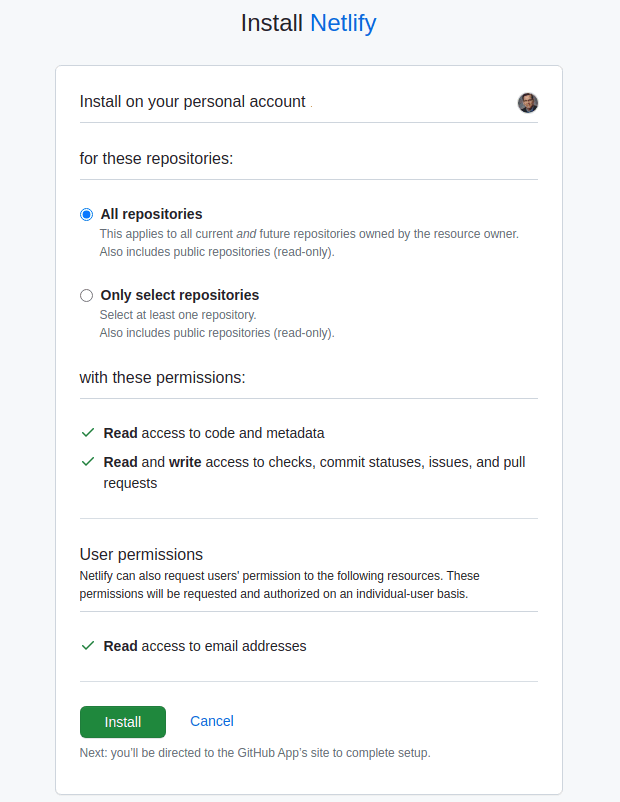
Step 5 : Install the Netlify app by selecting your GitHub account.

Step 6 : Press the Install button.
Step 7 : Click on the site's repository from the list.

Step 8 : Set the site name and branch from which to deploy.

Step 9 : Define the build settings, press the Add environment variables button, then press the New variable button.
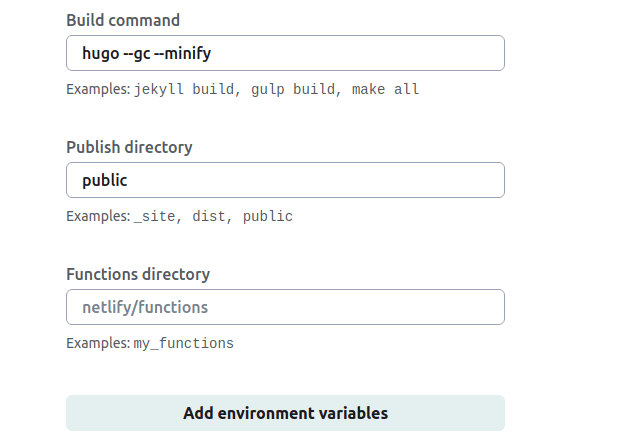
Step 10
: Create a new environment variable named HUGO_VERSION and set the value to the latest version.

Step 11 : Press the "Deploy my new site" button at the bottom of the page.

Step 12 : At the bottom of the screen, wait for the deploy to complete, then click on the deploy log entry.

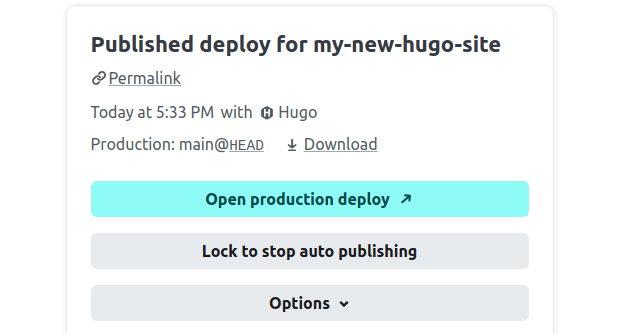
Step 13 : Press the Open production deploy button to view the live site.
Configuration file
In the procedure above we configured our site using the Netlify user interface. Most site owners find it easier to use a configuration file checked into source control.
Create a new file named netlify.toml in the root of your project directory. In its simplest form, the configuration file might look like this: